Need managers to receive notifications regarding an event or role approval? Rosterfy has you covered with 'Notifiers' available across multiple parts of the platform.
IN THIS ARTICLE:
Notifiers in Rosterfy
A Notifier can be added to various parts of the system to help manage approvals of roles and events.
The following areas can have a Notifier attached:
- Role Offer Locations
- Role Offer Venues
- Functional Areas
- Event Types
Adding Notifiers
To add Notifiers, update the relevant area, for this example we will use Location:
- Navigate to the Headcount module > Locations.
- Locate the specific area you want to add a Notifier to, click More Actions > Update.
- Select the Actions button > View Notifiers.
- In the Add New Notifier field, search for the person you want to make a Notifier and click Add.

Note: People added as Notifiers will automatically be sent an email when an event or role within the area they are assigned requires their approval.
Sending Emails to Notifiers through Automations
A notification (email/sms) can be sent to a Notifier using automations for other purposes. For example, you may want to send a Notifier an email when a person applies or withdraws from a particular role or to remind them of an upcoming shift they are responsible for.
- To do this, navigate to the Workflows module > Automations.
- Select Create, to create an automation.
- Select the applicable Automation Task (must relate to an Event or Role Offer, i.e Event Shift User - Check In).
- Determine the timing of the notification with Schedule Trigger, and the Category if applicable, then click Save.
- In the Actions section, select Add.
- Input a name and then select Email to Notifiers as the Action.

- Click the Rules tab, and add any rules that may apply, i.e a Role Offer or Event Id.

- Click the Options tab, and select the Template you wish to use, then click Submit.

Activating Notifiers
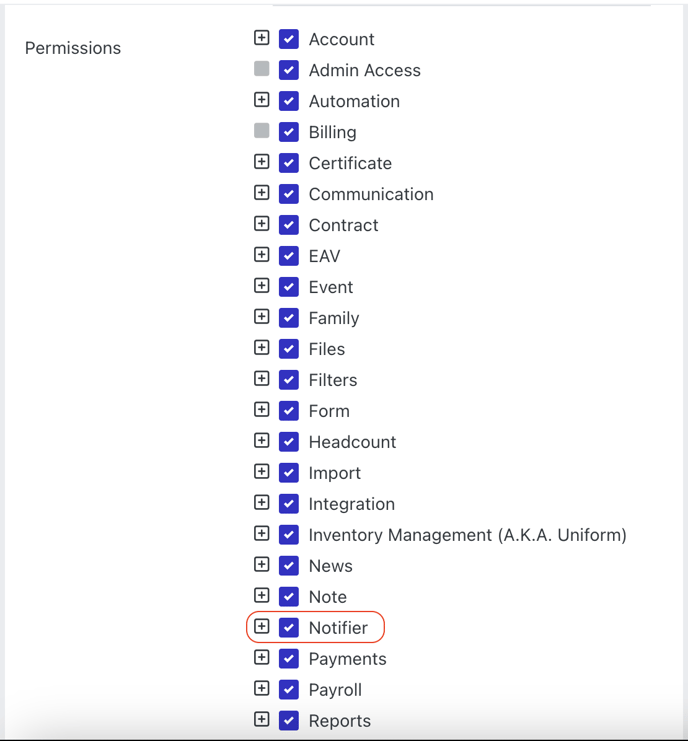
To utilise Notifiers in Rosterfy, you need to ensure the permission is active for the account.
- Navigate to Settings > Admin Permissions.
- Identify the permission you wish to give access to, then select More Actions > Update.
- Select the checkbox for Notifier.
Note: You will need to contact Rosterfy Support if Notifier is not an option within your Admin Permissions.

